A so-called “hidden Windows one-click restore trick” is circulating online, claiming that running sysprep can restore Windows without reinstalling.
But the truth is: blindly following this can crash your system and wipe your data!
Here’s a safe and practical guide to restore Windows with two official methods.
🔍 Understanding the Truth: sysprep ≠ System Restore Tool
What is sysprep really for?
✅ It’s designed for OEMs to prepare system images
✅ It resets Windows to an “out-of-box experience” (OOBE), like a brand-new PC
❌ It’s NOT intended for regular users to reset or restore their systems
If you follow the viral guides and misuse sysprep, you risk:
- Losing all installed apps and drivers
- Having your personal files on the C: drive deleted
- Getting stuck in Windows initialization loops, unable to boot properly
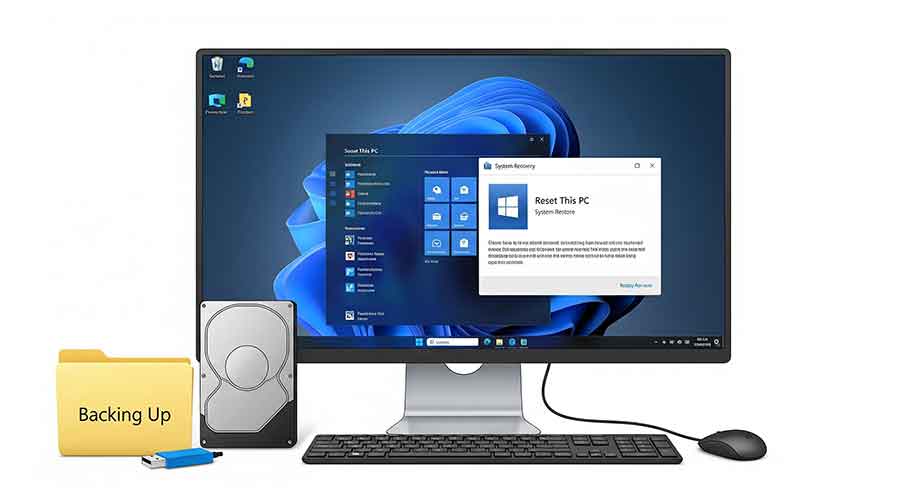
🛡️ Safer Option #1: Use the Official “Reset this PC” (For Windows 8/10/11)
Benefits:
✔️ Safe & reliable
✔️ Option to keep personal files
✔️ High success rate
📌 Step-by-Step Guide
- Backup First — Non-Negotiable
Copy all essential files from Desktop, Documents, Pictures, Downloads to an external drive or cloud storage. - Start Reset Process
- Method 1:
PressWin + I→System→Recovery→ click Reset this PC - Method 2:
HoldShiftand click “Restart” →Troubleshoot→Reset this PC
- Choose Carefully
| Option | Result | Best Use Case |
|---|---|---|
| Keep my files | Removes apps & settings but keeps personal files | When system is slow, infected, or buggy |
| Remove everything | Wipes all data & settings, restores factory state | Selling your PC or deep cleaning malware |
- Proceed
- Follow the prompts and click Reset
- The process takes 30-120 minutes and may reboot several times
- Finish the guided setup after reset
💡 Pro Tip: For 90% of users, “Keep my files” is sufficient to refresh the system without data loss.
⚠️ Risky Option #2: The Correct Way to Use sysprep (Advanced Users Only)
When to use:
- When “Reset this PC” is broken
- When you need to wipe all traces of previous users/data
⚠️ Critical Warning: Any mistake here can corrupt Windows — full backups are mandatory!
🔧 Step-by-Step Sysprep Method
- Mandatory Backup
Backup everything under:C:\Users\<YourUsername> — including Desktop, Documents, Pictures, Downloads.
Also export browser bookmarks and app settings.
- Run Sysprep as Administrator
- Press
Win + R→ typesysprep→ Enter - Or navigate to:
C:\Windows\System32\sysprep\ - Right-click sysprep.exe → Run as Administrator
- Set the Correct Parameters
In the System Preparation Tool window:
- System Cleanup Action: Select → Enter System Out-of-Box Experience (OOBE)
- Generalize: ✅ Must check this box
- Shutdown Options: Select → Shutdown
Remember:
Action = OOBE, Generalize = Checked, Shutdown = Shutdown
- Execute (No Undo)
- Confirm settings → click OK
- Sysprep runs (1-5 mins) → PC powers off
- Initialize & Migrate Data
- Power on → Windows starts in OOBE setup (like first boot)
- On the user creation screen, create a temporary account with a different name, like
TempRecovery - After setup, log in and manually copy data from:
C:\Users\<OldUserName>
to your new user folder or external backup - Finally, delete the old account:
Settings → Accounts → Other users → Remove old account
⚡ Critical Risk Warnings
| Mistake | Consequence | How to Avoid |
|---|---|---|
| Not backing up | Permanent data loss | Double-check backups first |
| Not checking “Generalize” | Blue screen / Boot failure | Take a photo of settings |
| Logging in with old username | Permission conflicts / Access errors | Always create a temporary account |
| Interrupting the process | System corruption | Stay connected to power, never force shutdown |
💡 Pro Recommendations
Always prefer the official reset tools first
![deepseek_mermaid_20250712_9dc8fe.png][1]
Bonus Best Practices (Most guides skip these!)
- Use a temporary account name during reinitialization (
TempUseretc.) - After setup, navigate to
C:\Users\ - Manually copy data from the old user folder (
OldUserName) to your new account or external drive - Once everything’s migrated, delete the old account via Settings
❗ Lessons Learned:
- Skipping backups is data suicide
- Missing the “Generalize” checkbox = blue screens
- Reusing old usernames = access & permission nightmares
💎 Ultimate Summary: The Golden Rules of Safe Windows Recovery
- Backup First:
Always backup your files manually or via File History before any recovery attempt. - Tool Priority:
Reset this PC> System Restore Point > System Image Recovery >sysprep - Avoid Dangerous Scripts:
Never trust random “one-click restore” scripts from the internet. - Ultimate Safety:
Create a system image in advance:
Control Panel → Recovery → Create a system image (save it to an external drive)